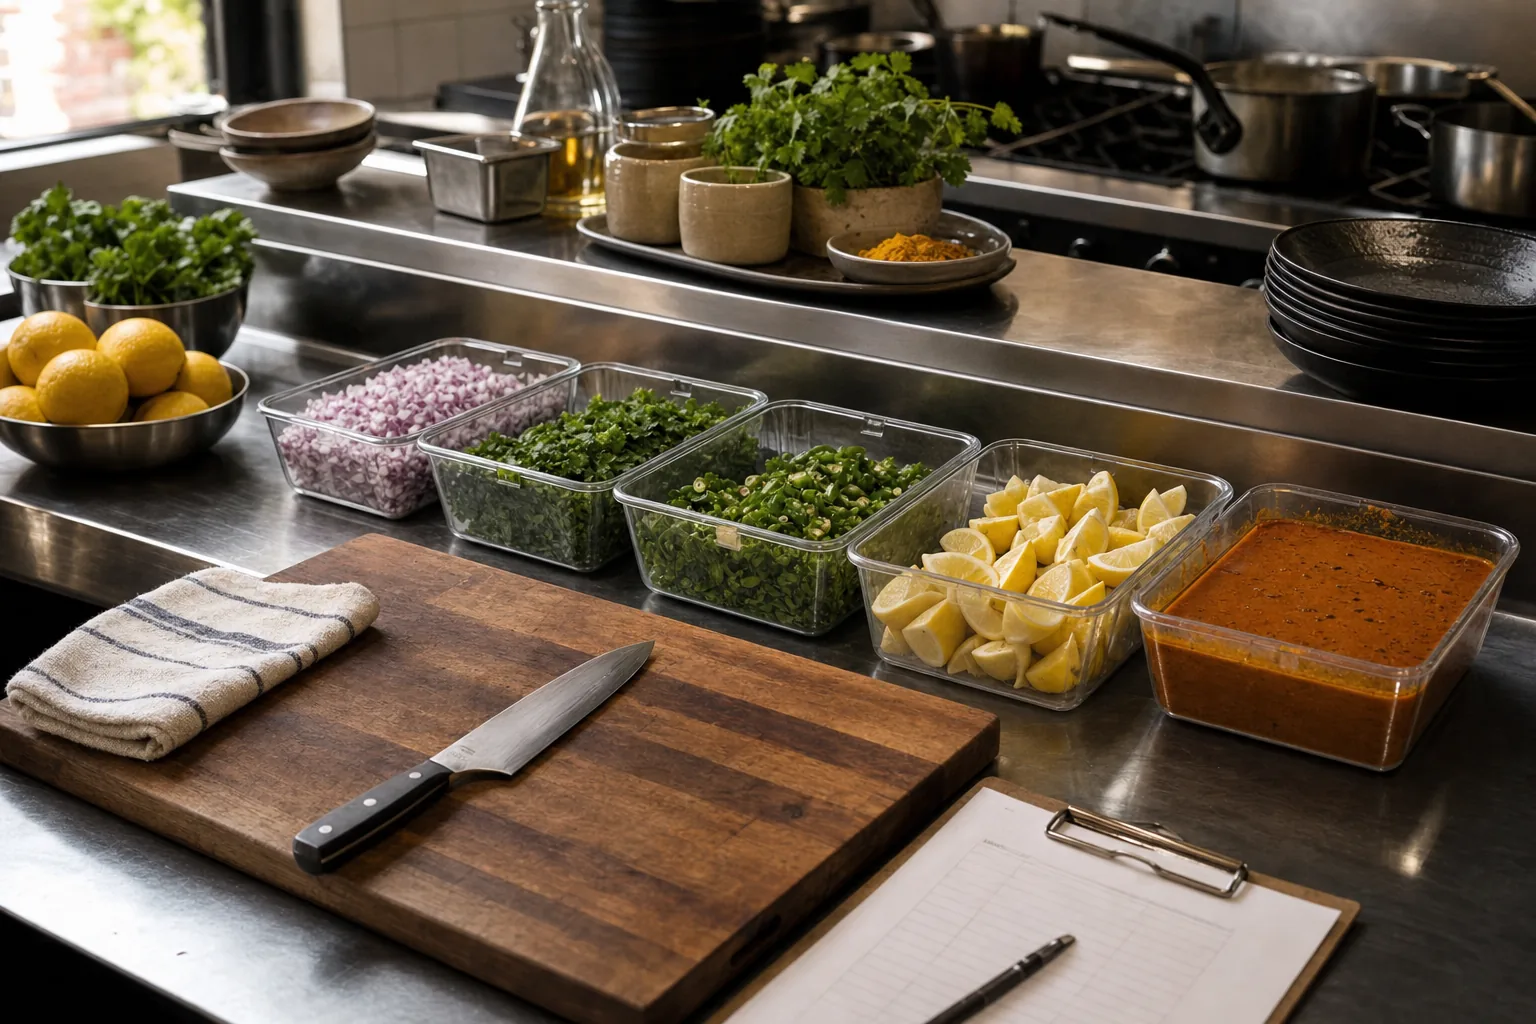
What mise en place really means in a working kitchen
Mise en place translates as everything in its place, and most cooks first meet it as a row of neatly diced shallots and picked herbs. In a professional kitchen it is much bigger than that. It is the agreement that every ingredient, tool and container needed for service is prepared, portioned, labeled and positioned before the first ticket prints. A cook with good mise does not search, does not improvise quantities and does not leave the station mid-rush to fetch a sauce from the walk-in.
The payoff shows up in the numbers you can feel: faster ticket times, steadier plating and fewer remakes. It also shows up in safety. When food is prepped in planned batches, stored at the right temperature and dated, there is far less guesswork about what is still good. A kitchen running a forty-dish menu with three cooks cannot rely on talent alone; it needs a repeatable system that a new hire can follow on day two.
Think of mise en place in three layers. The station layer covers what sits within reach of each cook. The prep layer covers what has to be made before service and in what quantity. The communication layer covers what the team tells each other, and the guest, when something runs out. This guide works through all three, with the tools that make them stick.
Set up each station the same way every shift
Start with a station map: a simple drawing or photo of each station showing where every insert, squeeze bottle, tool and plate stack lives. Tape it inside a cabinet door or keep it in the kitchen binder. The map means a cook covering the grill on a Sunday sets it up exactly like the regular grill cook, and the chef can see at a glance whether something is missing.
Arrange ingredients in the order the dishes are built. If your tandoori platter goes marinade, skewer, oven, onion salad, lemon, chutney, then the cold garnish inserts should sit in that order from left to right on the reach-in rail. Keep high-use items closest to the hand that uses them. Keep raw proteins below and away from ready-to-eat garnishes, ideally in a separate reach-in drawer, so drips never land on something that will not be cooked again.
Build in a backup. Each insert on the rail should have a second, full container in the reach-in below, so a cook can swap rather than prep during service. Side towels, sanitizer buckets, tasting spoons, tongs and a clean cloth for plate rims are part of the station too. If any of them are missing at 7 pm, the station is not set.
- Cutting board secured with a damp cloth underneath so it cannot slide.
- Labeled inserts for every garnish and component, arranged in build order, with backups below.
- Sanitizer bucket at the correct concentration and a stack of clean side towels.
- Tasting spoons, tongs, spatulas, ladles and portion scoops sized to the menu specification.
- Plates or bowls for the first rush warmed or chilled as the dish requires.
- A thermometer probe, cleaned and checked, plus the station's copy of the plate specifications.
Set par levels from real covers, not guesses
A par level is the quantity of a prepared item you want on hand at the start of a service. It is the bridge between your sales and your prep list. Set it too low and you run out at 8.30 pm; set it too high and you throw away tomorrow's profit. Pull your item sales from your POS or sales records for the last four to six comparable services, find the typical usage per service, and add a modest safety margin for busy nights.
Pars should reflect shelf life. A batch of makhani gravy or a braised short rib that holds well for several days under refrigeration can be prepped in larger batches. Picked herbs, cut avocado, dressed salads and fried garnishes cannot; their par is closer to one service. Separate weekday and weekend pars, and adjust for known events such as a festival weekend, a cricket final on the big screen or a private booking.
Review pars at least monthly and whenever the menu changes. A dish that drops off the menu leaves an orphaned prep item behind it, and orphans quietly become waste. The same goes for a dish that suddenly sells twice as well after a menu redesign; its par must rise before the station starts running dry. Write the par next to each item on the prep sheet so the cook can compare it with what is actually in the reach-in.
| Prepared item | Unit | Weekday par | Weekend par |
|---|---|---|---|
| Makhani gravy | Litres | 6 | 10 |
| Marinated chicken tikka | Portions (180 g) | 30 | 50 |
| Diced red onion | Litres | 1 | 2 |
| Picked coriander | Containers (500 ml) | 2 | 3 |
| Mint chutney | Squeeze bottles | 3 | 5 |
Write a prep list that runs the morning
A prep list turns par levels into today's work. For each item, the cook checks what is on hand, subtracts it from the par and writes the difference as the amount to prep. That single column of numbers removes most arguments about how much to make. Keep the list on a clipboard or a printed sheet at each station, and keep yesterday's sheet for a week so the chef can see patterns.
Good prep lists are specific. Write “dice 2 L red onion, 5 mm” rather than “onions”. Write which recipe card to follow for sauces and marinades. If an item needs a long lead time, such as a stock, a brined pork belly or an overnight dal soak, it belongs on the list the day before it is needed, not the morning of service.
Order the list by lead time
Sequence the list so long jobs start first. Stocks and braises go on the stove before anything else, doughs are mixed so they can rest, and marinades are made early so proteins have time to absorb them. Knife work for vegetables fills the time while those jobs simmer. Delicate items such as herb oils, cut fruit and dressed salads come last, as close to service as possible, so they are at their best when they reach the plate.
Assign, initial and check off
Each line should have an owner. When a cook finishes an item, they write their initials and the quantity actually made. The chef or sous chef walks the stations roughly an hour before service, compares the list with the containers, tastes the sauces and signs off. This walk catches the batch of raita that was never made and the chutney that needs more salt while there is still time to fix both.
- Count what is already prepped and still within its use-by date.
- Subtract the count from today's par to find the quantity to prep.
- Write the quantity, the cut or recipe reference and the cook's name for each item.
- Sequence the list so long-cooking and resting jobs start first.
- Initial each item as it is finished and note the actual yield.
- Walk the stations before service, taste, and sign off the list.
Label, date and store every container
An unlabeled container is a question nobody should have to answer at 9 pm. Every prepped item gets a label as soon as it goes into a container, not after the rush. Use masking tape or dissolvable labels and a permanent marker, and agree one format across the kitchen so anyone can read any label. Many kitchens use day-dot colors as a quick visual check, but the written date is what matters.
Shelf life should come from your food safety plan and your local food authority's guidance, not from a cook's memory. Write it on the recipe card and copy it to the label. Store ready-to-eat food above raw, raw poultry on the lowest shelf, and keep allergen-heavy items such as nut pastes in clearly marked, lidded containers away from everything else.
- Item name, written in full rather than in shorthand only one cook understands.
- Date and time the item was prepared or opened.
- Use-by date taken from the recipe card or food safety plan.
- Initials of the person who prepared it.
- Allergen flag where relevant, such as contains nuts or contains sesame.
Rotate stock with FIFO, and know when FEFO is better
First in, first out means the oldest product is used before the newest. In practice, when a delivery arrives or a new batch of sauce is made, it goes to the back of the shelf and the existing stock moves forward. It sounds obvious, yet the most common walk-in failure is a fresh crate of tomatoes stacked on top of the older ones, which then rot quietly underneath.
First expired, first out is a useful refinement. A tub of cream delivered today might carry an earlier date than one delivered last week, and the label, not the delivery day, should decide which is used first. Teach cooks to read the dates, not the order on the shelf. Clear, shallow shelving and transparent containers help, because people use what they can see.
Make rotation part of receiving. The person who signs for the delivery checks temperatures, dates and quality, rejects anything that does not meet your standard, and puts stock away correctly before moving on. A delivery left in the corridor for an hour is a delivery that will not be rotated, and chilled goods sitting at room temperature lose shelf life with every minute. Schedule deliveries for quieter hours where suppliers allow it, so someone has time to receive them properly.
Teach cooks to read the dates, not the order on the shelf.
Opening and closing checklists that actually get used
Checklists work when they are short, specific and owned. A two-page list that nobody reads is worse than none, because it creates the illusion of control. Write one opening list and one closing list per station, keep each to a dozen lines or fewer, and put the chef's expectations in plain words. Review them whenever a mistake repeats; a recurring problem usually means a missing line.
The closing shift sets up the morning. A good closing cook wraps, labels and stores everything, notes what ran low, starts the next day's prep list, soaks the lentils and leaves the station clean enough to start cooking without a second wash. The opening cook confirms equipment temperatures, checks the walk-in, reviews the prep list and flags anything that did not arrive.
- Wrap, label and date every open container; discard anything past its use-by date.
- Record reach-in and walk-in temperatures and report any unit that is out of range.
- Note items that ran out or ran low during service on tomorrow's prep list.
- Start overnight jobs such as soaking legumes, thawing proteins under refrigeration or resting doughs.
- Clean and sanitize boards, surfaces, handles and the floor around the station.
- Switch off and clean equipment according to the manufacturer's instructions.
Communicate 86'd items fast, from the pass to the menu
Eighty-six is kitchen shorthand for an item that has run out or cannot be served. The moment a cook knows the last portion of lamb shank is gone, the pass needs to hear it, and the floor needs to hear it seconds later. Use one clear call and one written place: a whiteboard at the pass that lists every 86'd item and every item running low with a count, such as “six left”. Servers check that board at the start of every section briefing.
Running low is as important as running out. If the expediter calls “four biryani left” at 8 pm, servers can steer guests before disappointment happens. When the item is truly gone, say so and stop selling it everywhere at once, including on printed specials boards and the digital menu. If a substitute is available, such as a different cut or a vegetarian version of the same dish, tell servers exactly what it is and how it differs so they can offer it with confidence rather than improvising at the table.
If your guests read a QR menu, mark the dish or the specific portion size as sold out when it is 86'd, and restore it when the next batch is ready. In Menulo, owners and managers can switch a dish or an individual portion to sold out so guests see it immediately, while staff accounts can read the menu without changing it. Decide who owns that switch on each shift so it is never forgotten.
Train the habit, not just the list
Mise en place is learned by doing it next to someone who does it well. Pair new cooks with an experienced station lead for their first shifts, and have them set up the station from the map while the lead watches. Explain why each item sits where it does. A cook who understands that the raw chicken drawer sits below the garnish rail to prevent cross-contamination will keep it there when nobody is watching.
Use the pre-service walk as coaching rather than inspection. Taste with the cook, point out the one thing to fix and recognize the station that is set perfectly. Over a few weeks, the standard becomes the team's own. When the system is working, the kitchen gets quieter during service, because nobody needs to shout for something that should already be there.
Frequently asked questions
What is mise en place in cooking?
Mise en place is the practice of preparing, portioning and organizing every ingredient and tool before cooking begins. In restaurants it extends to station layout, par levels, prep lists, labeling and stock rotation, so that during service cooks only assemble and cook rather than search or prepare. It improves speed, consistency and food safety.
How do you make a restaurant prep list?
Start with a par level for each prepared item based on your recent sales. Before each shift, count what is already on hand and within date, subtract it from the par, and write the difference as the amount to prep. Add the cut or recipe reference, assign an owner, order the list by lead time and check it off as items are finished.
How do I calculate par levels for prep?
Pull item sales for several comparable services from your POS or sales records, find typical usage per service and add a small safety margin for busy periods. Adjust for shelf life, so delicate items have pars close to one service, and keep separate weekday and weekend pars. Review them monthly and after every menu change.
What should be written on a food label in a commercial kitchen?
At minimum, the item name, the date and time it was prepared or opened, its use-by date, and the initials of the person who prepared it. Many kitchens also add an allergen flag. Use one consistent format across the kitchen and follow any additional requirements set by your local food authority.
What does 86 mean in a restaurant?
To 86 an item means it has run out or cannot be served for the rest of the service. The kitchen calls it at the pass, it is written on a shared board, and servers stop offering it. If your menu is digital, mark the dish or portion sold out at the same time so guests do not order it.
- #miseenplace
- #preplists
- #parlevels
- #kitchenorganization
- #fifo